Display Title
Math Clip Art--Geometry Basics--Regular Polygon 11
Display Title
Math Clip Art--Geometry Basics--Regular Polygon 11

Topic
Geometry Basics
Description
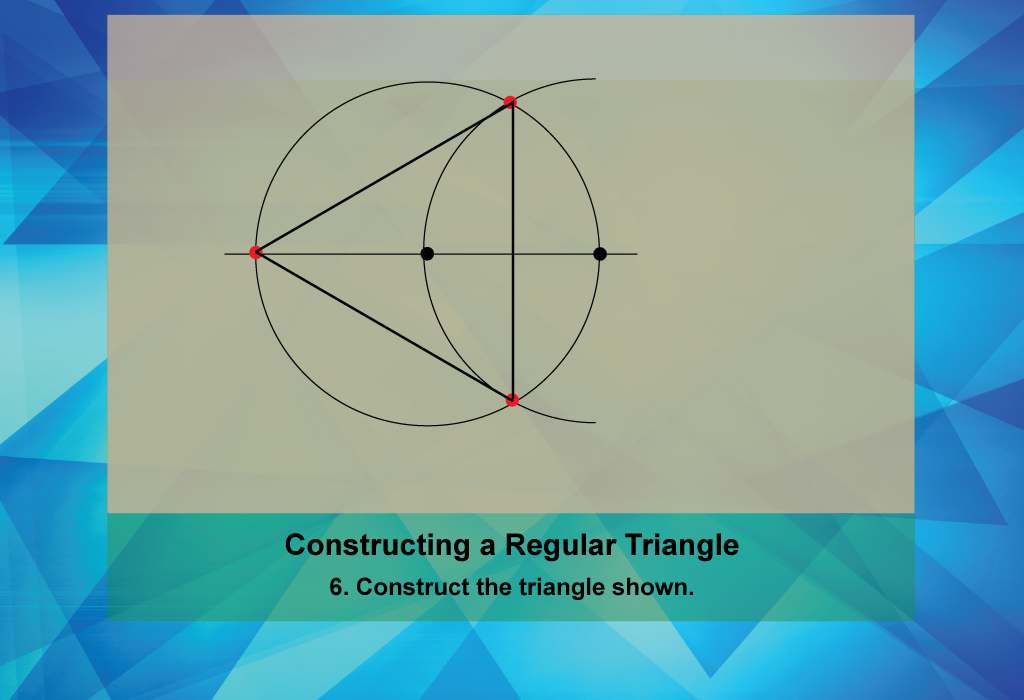
This math clip art image continues the series on regular polygons, illustrating Step 6 in constructing an equilateral triangle. The image shows the actual construction of the triangle based on the points and arcs established in previous steps. This visual representation is essential in demonstrating how geometric principles come together to form regular shapes.
By providing a step-by-step visual guide, this clip art helps students understand the logical progression of geometric construction. It reinforces the idea that complex shapes can be created through a series of precise, simple steps, fostering a deeper appreciation for the structure and symmetry in geometry.
Teacher's Script: "Now we're ready to construct our triangle. Look carefully at how we connect the points we highlighted earlier. Notice how the arcs we drew guide our lines. Can you see why this method ensures all sides will be equal? As we complete this step, think about how the properties of circles and straight lines work together to create our equilateral triangle."
For a complete collection of math clip art related to Regular Polygons click on this link: Geometry Basics: Regular Polygons Collection.
| Common Core Standards | CCSS.MATH.CONTENT.3.MD.D.8 |
|---|---|
| Grade Range | 3 - 5 |
| Curriculum Nodes |
Geometry • Polygons • Definition of a Polygon |
| Copyright Year | 2021 |
| Keywords | polygons, regular polygons, geometric constructions |